
Vinyl flooring is a popular choice for homeowners. It is durable, affordable, and versatile. This material can mimic the look of natural stone, hardwood, or tile, and it’s easy to clean and maintain. If you’re thinking of installing flooring, here is a step-by-step guide to help you through the vinyl flooring installation process.
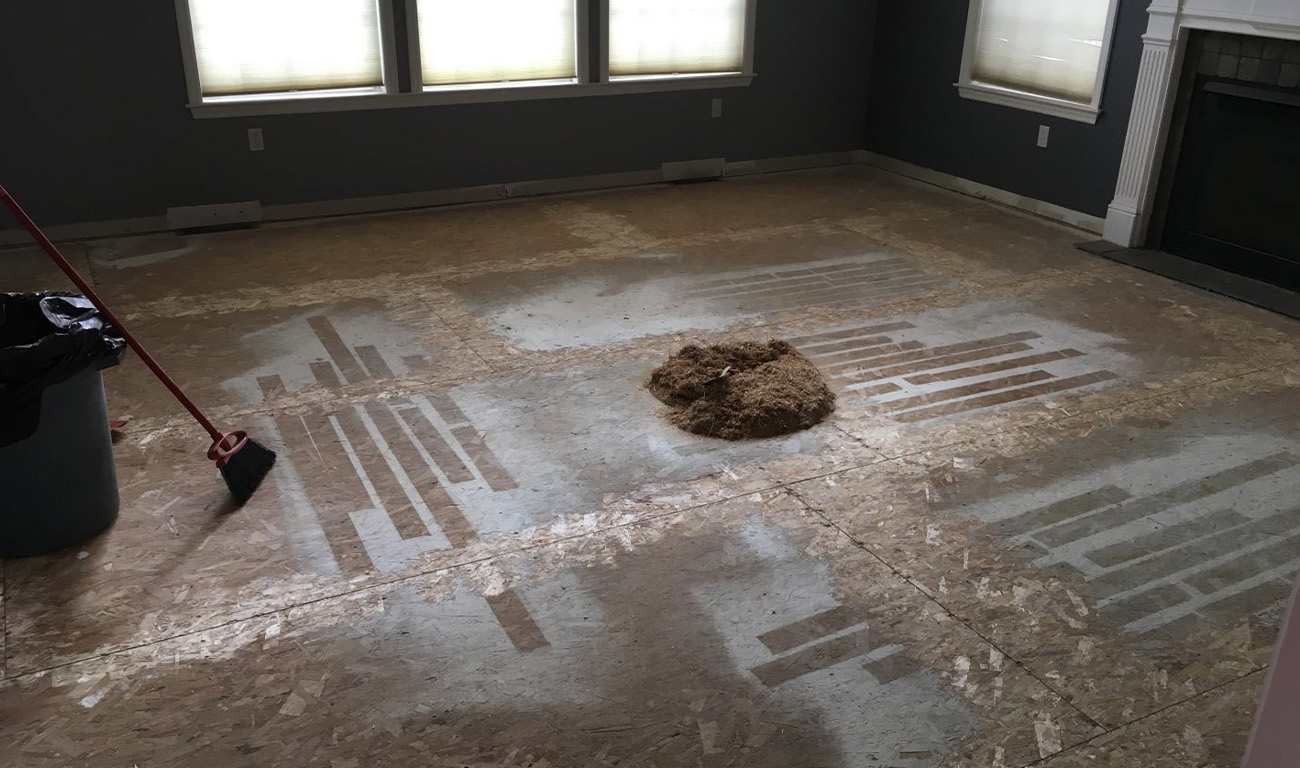
Step 1: Prepare the Subfloor
It is important to prepare the subfloor for vinyl plank flooring before beginning installation. This involves removing old flooring and debris and repairing holes or cracks in the subfloor. If the subfloor is uneven, you need to use a self-leveling compound to smooth it out. You must ensure the subfloor is clean, level, and dry. Remove any old flooring and debris, and repair any holes or cracks. This will ensure that the new vinyl plank flooring will be installed on a clean, level, and dry surface, providing a stable base for the vinyl to adhere to. If the subfloor is uneven, you’ll need to use a self-leveling compound to smooth it out.
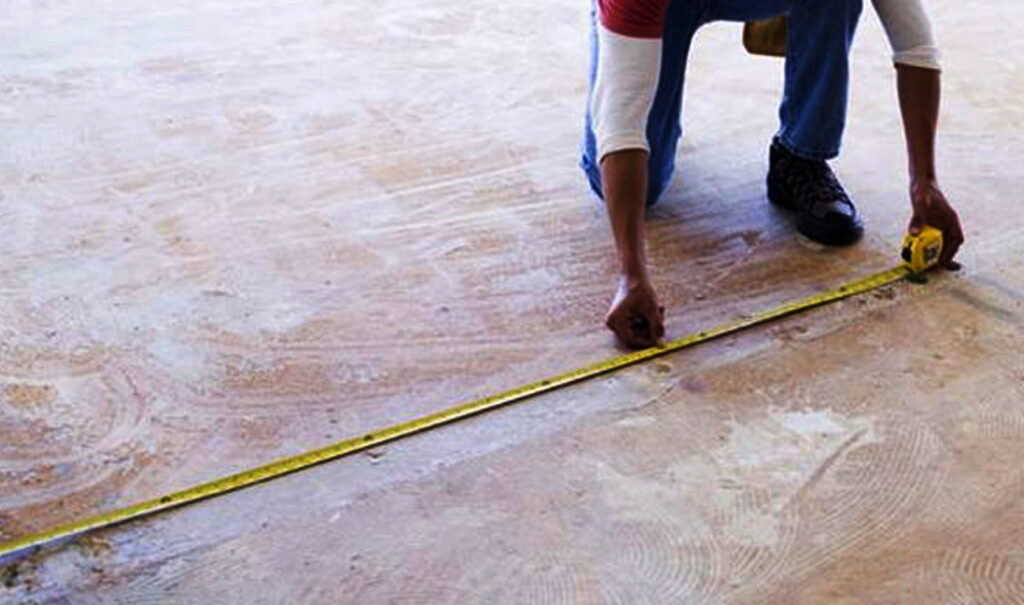
Step 2: Measure Your Room
To accurately calculate the amount of vinyl plank flooring you will require, you need to measure the length and width of each room where you’ll be installing flooring. This will give you the square footage required to purchase the appropriate amount of material. Measuring the room accurately. This will help you to plan the layout of the vinyl plank flooring in the room.
Step 3: Purchase Materials
Based on the measurements taken in step 2, purchase the LVP flooring material. Gather necessary trim pieces like quarter-round or baseboards. You will also need to purchase an adhesive that is specifically designed for vinyl plank flooring and an LVP plank cutter. Make sure you choose high-quality materials for the installation to ensure a long-lasting and attractive finish.

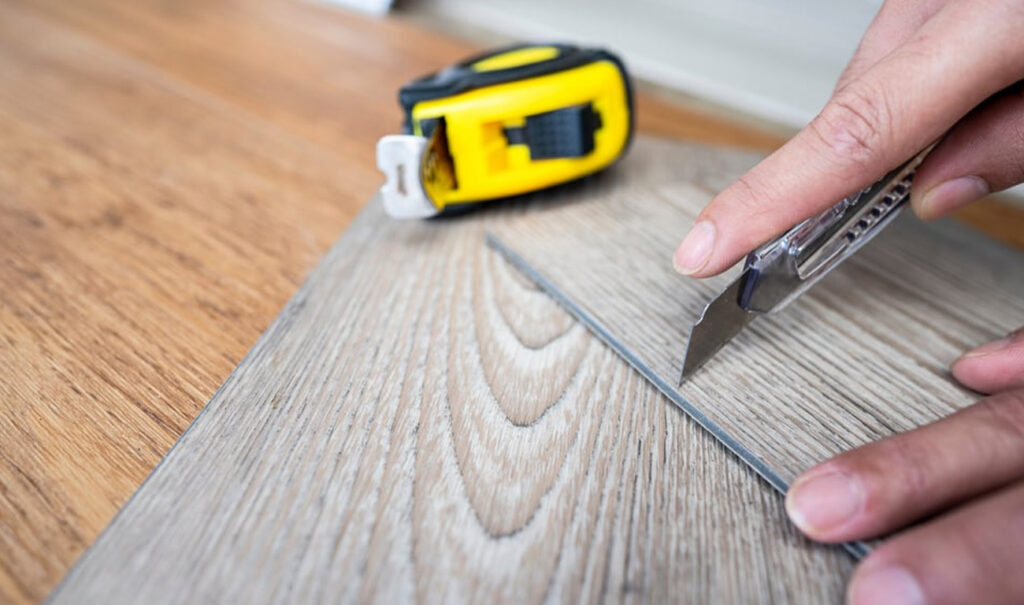
Step 4: Cut Vinyl Flooring to Size
Once you have all the necessary materials, you’ll need to cut the LVP flooring to size. So, measure the distance between the walls and mark the vinyl accordingly. Use the vinyl plank flooring cutter to make the cuts, making sure they are straight and accurate. This will help you to achieve a neat and professional finish.
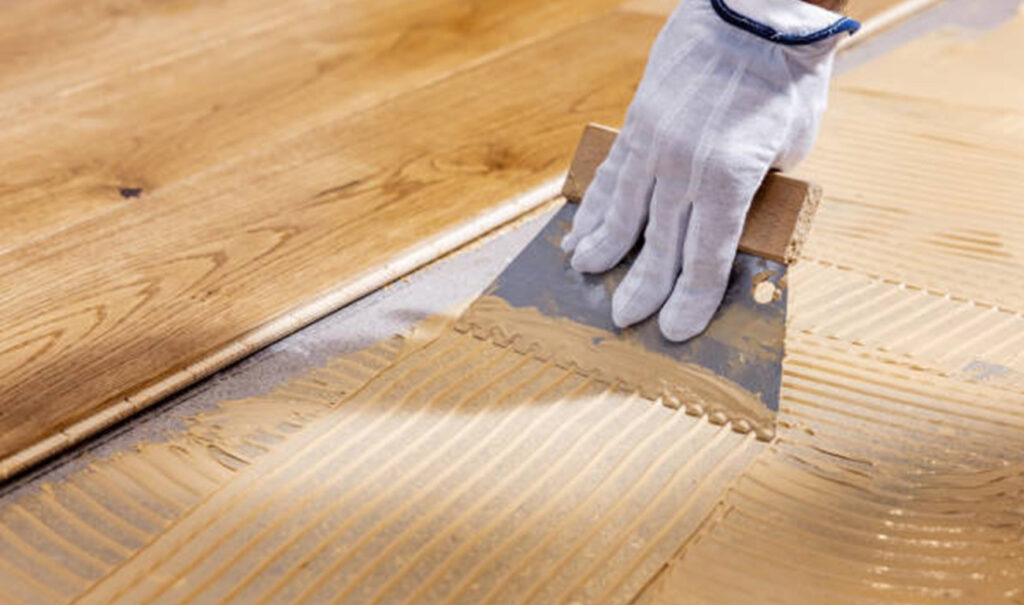
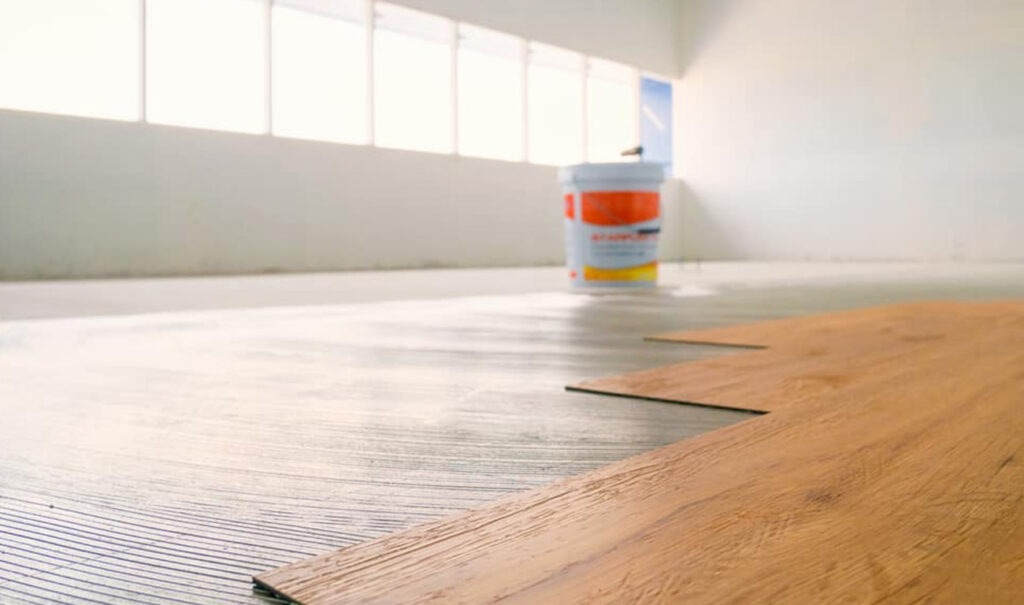
Step 5: Apply Adhesive
Using a trowel, spread the adhesive onto the subfloor in a thin, even layer. Please make sure that you have applied enough adhesive to secure the vinyl, but not so much that it squishes out from under the seams. The adhesive bonds the flooring to the subfloor, ensuring a secure and durable finish.
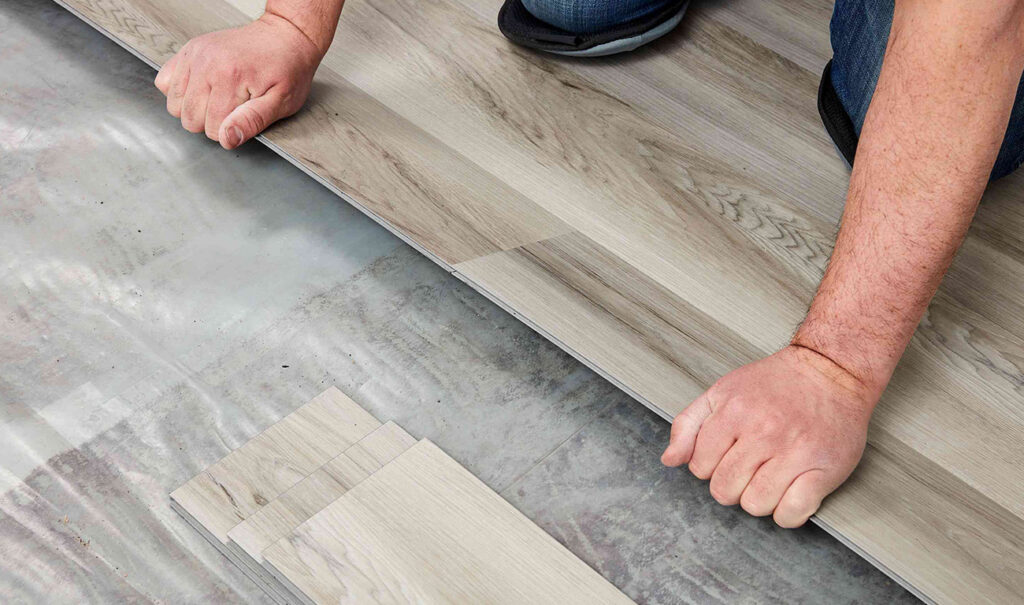
Step 6: Lay the Vinyl Flooring
Starting in the corner of the room, place the planks into the adhesive and press it down firmly. Use a rolling pin to ensure proper adhesion. Continue laying the vinyl in the same manner until you reach the opposite wall. So, work carefully to avoid mistakes during installation.
Step 7: Cut the Vinyl Flooring to Fit the Planks Appropriately
Trim the flooring to fit around obstacles like cabinets, doorways, and pipes. Use a utility knife or LVP plank cutter to make the cuts, making sure they are straight and precise. This will help you to achieve a seamless finish between the LVP flooring and the obstacles.
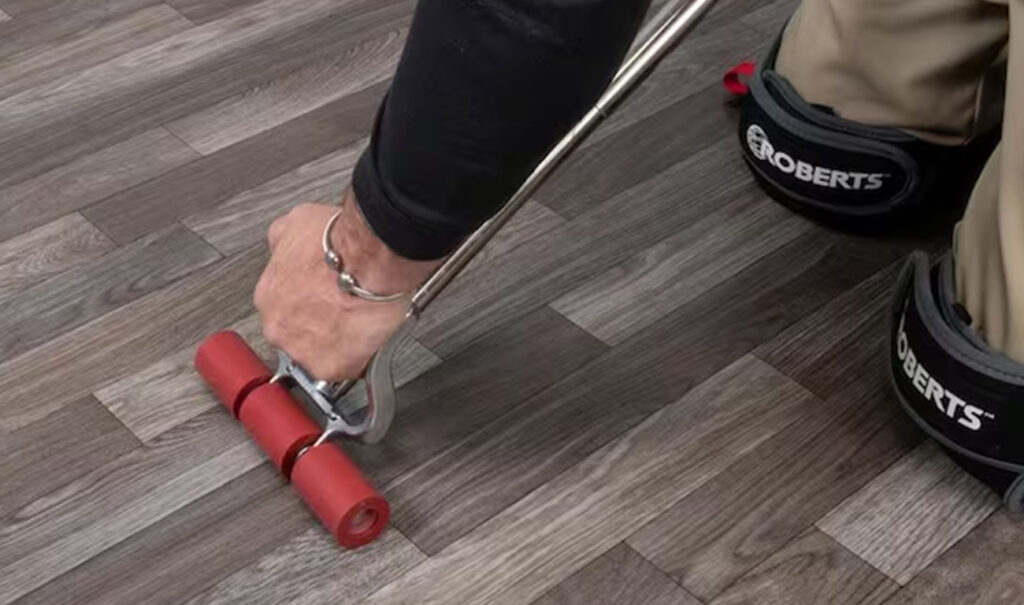
Step 8: Seam the Pieces Together
If you need to seam two pieces of vinyl planks together, use a vinyl seam roller to press the seams together. Make sure the seams are tight and smooth, with no adhesive squeezing out. A seamless finish will ensure a professional and attractive appearance for your flooring.
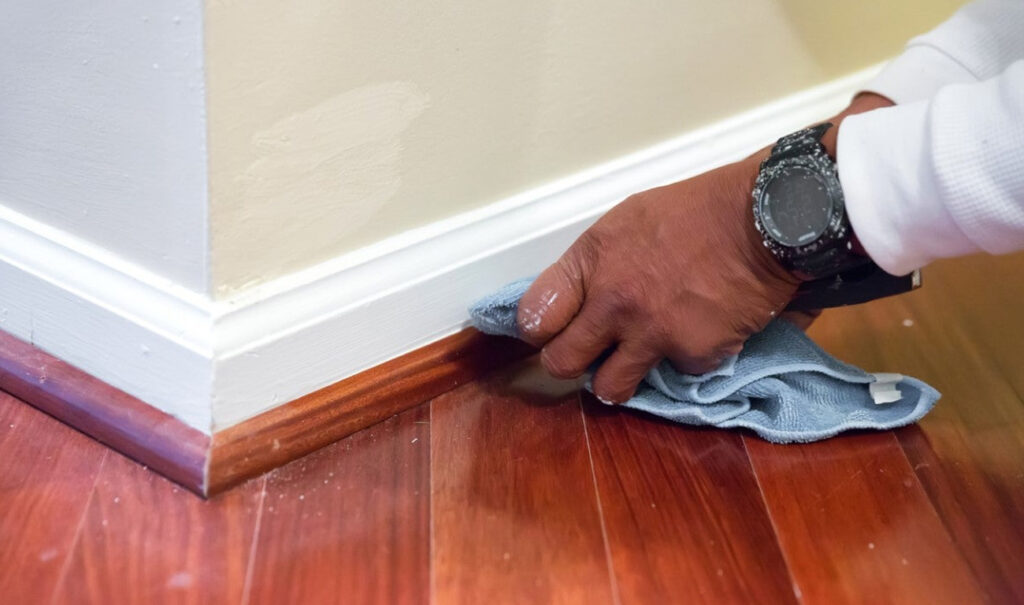
Step 9: Install Trim Pieces
Once the flooring is in place, Use a silicone sealant to secure any trim pieces, such as quarter-round or baseboards. This will help create a smooth transition between the flooring and the wall and provide a clean and finished appearance.
Step 10: Enjoy Your New Vinyl Flooring
After the adhesive and trim pieces have dried, you’re ready to enjoy your new LVP flooring. Clean the floor as needed, and maintain it according to the manufacturer’s instructions. This will help to keep your vinyl flooring installation smooth and look amazing in years to come.